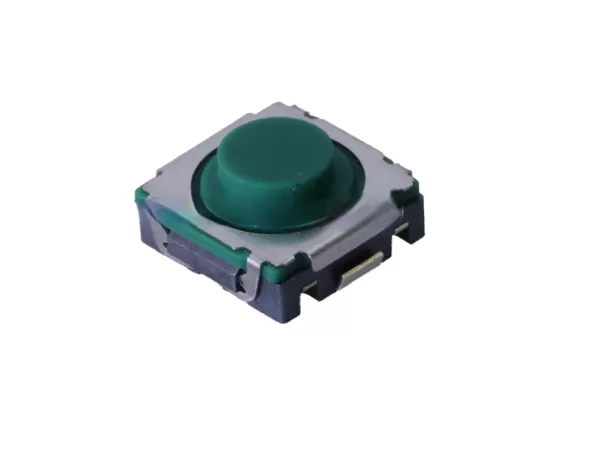
How to use the touch switch and precautions!!!

Tactile Switch is a common type of switch, which is easy to operate and widely used in various electronic devices. The following is the use of tactile switch, including connection, installation, operation and precautions:
Instructions:
connect:
Determine the switch pins :
- A tact switch usually has four pins, two of which are in one group and the other two are in another group. When the switch is pressed, a short circuit is formed between the two groups.
Connect the circuit :
- Connect the pins of the tact switch to your circuit. Typically, one pin goes to the power source and the other to the load (such as an LED, microcontroller input pin, etc.).
Test the connection :
- After soldering or inserting the tact switch in your circuit, use a multimeter to test the on/off state of the switch to ensure that the connection is correct.
Install:
Surface Mount (SMD) Tact Switches :
- Place the tact switch at the designated location on the PCB.
- Solder the switch to the PCB using a reflow soldering process.
Direct Plug (DIP) Tactile Switch :
- Insert the pins of the switch into the reserved holes on the PCB.
- Solder the switch to the PCB using either hand soldering or a wave soldering process.
operate:
Press operation :
- Press the switch button lightly with your finger and feel the obvious pressing feedback.
- When the switch is pressed, the circuit is connected; when the switch is released, the circuit is disconnected.
Side press operation (applicable to side press tactile switches):
- Switches that are pressed from the side are usually used for mounting on the side of equipment or in situations where space is limited.
Precautions:
Soldering Temperature :
- Follow the soldering temperature and time provided by the manufacturer to avoid damage to the switch due to excessive temperature or excessive time.
Installation location :
- Make sure the switch is installed in a suitable location to avoid interference with other components.
Operating force :
- When pressing the switch, use appropriate force to avoid damaging the switch due to excessive force.
Waterproof and dustproof :
- If the operating environment is humid or dusty, choose a waterproof and dustproof touch switch and pay attention to sealing.
Electrical characteristics :
- Make sure the electrical characteristics of the touch switch (such as current, voltage) meet the requirements of the application circuit.
Service life :
- Pay attention to the mechanical and electrical life of the switch to avoid overloading which may cause switch failure.
Applications:
electronic toy :
- The buttons are used to control the switches and functions of the toy.
Home appliances :
- Control panel buttons for microwave ovens, washing machines, etc.
Consumer Electronics :
- Remote controls, computer keyboards, mouse buttons, etc.
Industrial control equipment :
- Machine operation panel, automation equipment control buttons.
Example operation steps:
Preparation :
- Confirm the specifications and model of the touch switch.
- Prepare welding tools, solder, multimeter, etc.
Welding switch :
- Insert the pins of the tact switch into the pad holes of the PCB.
- Use a soldering iron and solder to solder the pins to the PCB, making sure the solder joints are full and free of dry solder joints.
Connect the circuit :
- Connect the switch pins to the corresponding power supply and load according to the circuit diagram.
- Use a multimeter to check the quality of soldering and whether the circuit connections are correct.
Test switch :
- After power is turned on, press the switch and observe whether the load (such as LED) works normally.
- Press the switch several times to confirm its reliable operation.
Through the above method, the correct use and reliable operation of the touch switch in the electronic device can be ensured.
We can customize the touch switch size, GF, temperature, life, switch color, etc. according to your needs.
If interested, please contact: Lilian@easychipsconnector.com